

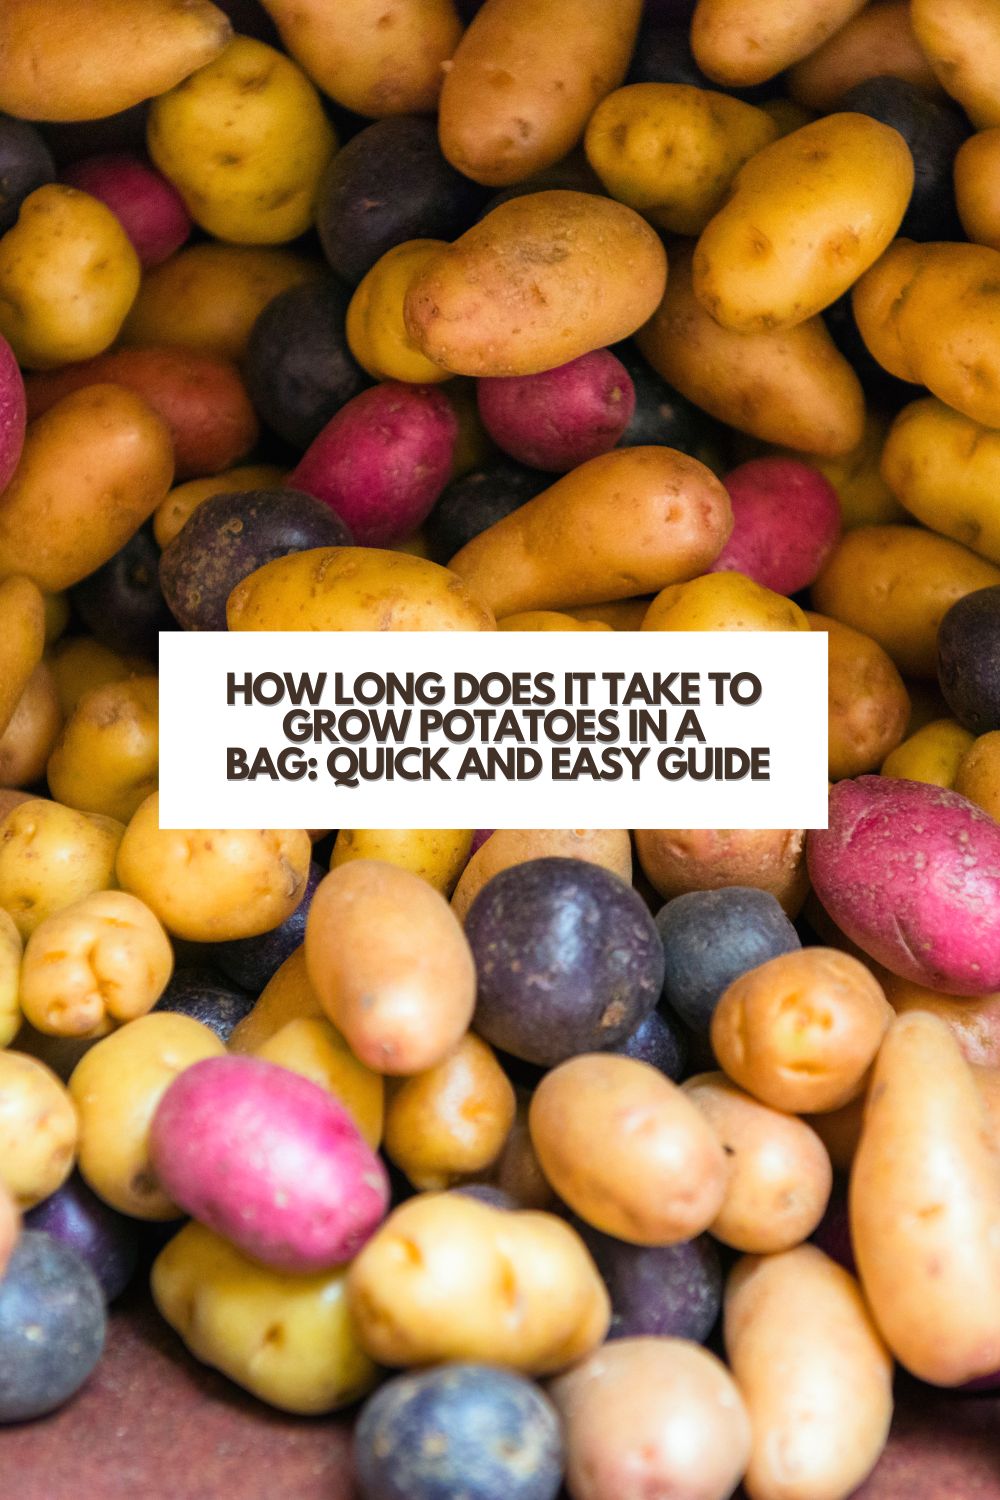
How long does it take to grow potatoes in a bag? Growing potatoes in a bag has become a popular method for those with limited garden space or even for urban dwellers with just a balcony to work with. I started my potato growing journey within a small space in the garden and a reusable grocery bag. It was honestly a great way to grow new potatoes.
This exciting approach can produce delicious potatoes without the fuss of tending to a full garden bed. It’s perfect for anyone who wants to enjoy the “fruits” of their labor even in the most unlikely areas.
The fantastic thing about growing potatoes in a bag is that the process is relatively low maintenance and can yield a good harvest in as little as 10 weeks. With several essential steps and a bit of daily care, you’ll be well on your way to enjoying your own freshly grown potatoes.
Follow along as I guide you through this enjoyable gardening endeavor.
FTC DISCLOSURE: Some of the links in this post are affiliate links. If you click on them and make a purchase, I will receive a small finder’s fee on the sale. This does not increase your price in any way shape or form. Using these links help support the continuation of this website. All opinions are my own. Thank you in advance.
Key Takeaways
- Growing potatoes in a bag is a space-saving and low-maintenance gardening method.
- A typical harvest can be expected in approximately 10 weeks.
- Success depends on essential steps: preparation, planting, care, and harvesting.
Growing Potatoes Basics
Understanding How to Grow Potatoes
I am so excited to share with you the basics of growing potatoes in a bag! It is such an easy and fun way to cultivate these delicious vegetables. To successfully grow potatoes, there are a few simple steps to follow.
First of all, it’s important to understand the growing process. Potatoes grow from “seed potatoes”, which are basically just small potatoes or pieces of larger potatoes containing at least one “eye.” The eye is the growth point from which new potato plants will emerge.
What are seed potatoes?
Seed potatoes are potatoes that you buy or allow to develop eyes or sprouts. You can make seed potatoes out of grocery store potatoes. It is easier to let them develop if you use organic potatoes. It really doesn’t matter the variety of potato, you can even use fingerling potatoes. As long as the potatoes start to have eyes or sprouts. Store-bought potatoes work just fine.
Is it worth it to buy seed potatoes?
This is a personal preference, but I personally do not find it economical to buy seed potatoes from the garden center. In general, you get a few seed potatoes in the seed potato bag. If you allow organic grocery store potatoes sprout, you can certainly plant them in rich soil and they will more than likely start to grow. This is an easy way to make your own organic potato seeds.
The only time I would actually purchase seed potatoes or chitted seed potatoes is if there’s particular or rare varieties of potato.
To prepare the seed potatoes, either cut them into pieces or plant them whole, making sure each piece has at least one eye. Then, allow the cut surfaces to dry for a day or two. This helps prevent rotting and encourages successful growth.
You absolutely can use regular potatoes as seed potatoes.
Choosing Potato Varieties
Now that you have a basic understanding of how to grow potatoes, let’s talk about choosing the right variety. There are many different types of potatoes to choose from, and some are better suited for growing in bags than others. Here are a few popular potato varieties to consider:
- Early potatoes: These types mature quickly and are perfect for those who want to harvest their potatoes sooner. Varieties like ‘Swift’ and ‘Rocket’ are ideal.
- Mid-season potatoes: These varieties take a bit longer to mature but still grow well in bags. Consider trying ‘Yukon Gold’ or ‘Red Pontiac.’
- Late-season potatoes: Though they take the longest to mature, these varieties can also be grown in bags. Varieties such as ‘Russet Burbank’ and ‘Kennebec’ are worth trying.
So, there you have it – the basics of growing potatoes in a bag! With my guidance and your enthusiasm, we’ll have a bountiful harvest in no time. Good luck on your potato-growing journey!
Preparation Before Planting
Selecting the Correct Grow Bag
I can’t contain my excitement as I prepare to plant potatoes in a grow bag! Choosing the right grow bag is the first step. There’s a variety of sizes available, but for potatoes, I recommend using either a potato grow bag, or 10 gallon bags. A larger bag can accommodate more soil and compost mix, giving my potatoes plenty of space to grow. I also consider opting for a grow bag made from a breathable material such as fabric since it allows better air circulation and drainage.
You could also reusable shopping bags as long as you cut holes in the bottom of the bag. Reusable grocery bags are great choices as long as you add layers of soil as the potato crop grows into mature potatoes.
Preparing the Compost and Soil Mix
Now that I’ve selected the perfect grow bag, it’s time to create an optimal growing environment for my potatoes. I start by preparing a mix of soil and compost. Here’s a simple breakdown of what I use:
- 50% garden soil: This provides a natural base for root growth and nutrient absorption.
- 30% compost: The addition of compost adds vital organic matter that encourages healthy growth.
- 20% perlite or vermiculite: These lightweight materials help in improving drainage and aeration.
I mix the ingredients thoroughly to ensure even distribution, and I’m ready for the next step. I also can use the compost from my composter and also from one of my favorite store bought mix of compost.
Planting Process
Initiating the Chitting Process
I was so excited to start growing potatoes in a bag! The first thing I needed to do was initiate the chitting process. Chitting involves placing the seed potatoes in a well-lit, cool area so they can grow tiny sprouts, which will improve the overall potato yield. I used an old egg carton to hold my seed potatoes with their eyes facing upward.
After about 3-4 weeks, I noticed the potato sprouts were about 1 inch long, and I knew it was time to move on to the planting procedure.
Planting Procedure
Once my potatoes were chitted, I gathered my supplies:
- A large, sturdy bag designed for potato growing
- Well-draining, high-quality potting mix
- Seed potatoes with sprouts
- Trowel or my hands for digging
I started by partially filling my bag with about 4-6 inches of potting mix. Then, I carefully planted the seed potatoes with the sprouts pointed upward. Each potato was spaced about 5-6 inches apart and covered with about 3 inches of potting mix. Finally, I watered the soil thoroughly.
As the potato plants grew, I made sure to keep a close eye on them. When the stems reached about 8 inches high, I added more potting mix to cover the stems, leaving only the top 2 inches of the plant exposed. This process, known as “earthing up,” encourages the growth of more potatoes along the buried stems. I repeated this process until the bag was full of soil.
During the growing process, I consistently watered my potatoes, ensuring the soil stayed moist but never too wet, as soggy soil can lead to rot. With proper care and attention, I was able to grow a bountiful harvest of potatoes right in a bag!
Taking Care of the Plants
Understanding the Sunlight Requirement
Potatoes love sunlight! I make sure to place my potato bag in a spot where it receives at least 6-8 hours of sunlight daily. It’s crucial for their growth and ensures a healthy and bountiful harvest.
Watering and Fertilizing Requirements
Proper watering and fertilizing are key to growing great potatoes in a bag. I water my potatoes consistently, ensuring the soil remains evenly moist but not overly wet. Overwatering can lead to rot, so I usually check by sticking my finger in the soil to feel the moisture levels.
As for fertilizing, I prefer using a balanced, slow-release fertilizer that provides essential nutrients without overwhelming the plants. I usually fertilize once at planting time and then again when the plants have grown about 6 inches tall.
Guarding Against Pests and Diseases
Preventing pests and diseases is essential for a successful potato harvest. I always choose disease-resistant varieties to minimize the chances of problems. However, I also keep a close eye on my plants for any signs of pests or diseases. If I notice any issues, I take action immediately by using biological controls or organic pesticides to protect my precious potatoes.
Understanding Hilling or Earthing Up
Hilling, also known as earthing up, is an important technique that I use to encourage potato growth. As my potato plants grow taller, I gently mound soil around the base of the plants, leaving just a few inches of foliage exposed. Hilling helps keep the potato tubers well covered, preventing sunlight from reaching them and causing them to turn green. Additionally, it provides extra support for the plant and promotes better tuber development. I usually hill my plants 2-3 times throughout their growth, keeping an eye on their progress, and adjusting as needed.
Harvesting Your Potatoes
Determining the Harvest Time
I am excited to share that growing potatoes in a bag is a fantastic way to save space and yield a bountiful harvest! So, when do you know it’s the perfect time to harvest your potatoes? There are a few key indicators to look for:
- Leaf yellowing: When the leaves begin to turn yellow or wither, it’s typically a good sign that the potatoes are ready for harvest.
- Flowers blooming: If your potato plants have flowered, it is likely that the small tubers have already begun to form underneath the soil.
- 90-day rule: Most potato varieties take around 70-90 days to mature. If it’s been about that long since you first planted your spuds, they’re probably ready to be harvested.
Harvesting Technique
Once you’ve determined that it’s the right time to harvest your potatoes, you’re probably wondering how to go about it. Well, I’m thrilled to tell you that harvesting potatoes from a bag is a straightforward process! Here’s the excited way to go about it:
- Preparation: Lay out a large tarp or plastic sheet to make it easier to collect the harvested potatoes and minimize mess.
- Empty the bag: Carefully tip the bag onto the tarp, allowing the soil and potatoes to tumble out. You can also cut open the bag if you do not plan on reusing it.
- Search for the potatoes: Begin gently sifting through the soil with your hands, taking care not to damage the tender spuds. As you find them, set them aside on the tarp.
- Brush off the soil: Once you have located all of your potatoes, gently remove any excess soil from the surface. Avoid washing them until just before you plan to use them.
And there you have it! A hassle-free, enjoyable way to harvest potatoes grown in a bag. Happy harvesting, fellow potato enthusiasts!
Storing Potatoes
I’m excited to share my tips on how to store potatoes effectively! After you’ve grown your potatoes in a bag, it’s essential to know how to keep them fresh and tasty. In this section, I will cover preparing potatoes for storage and the proper storage conditions.
Preparing Potatoes for Storage
Before storing my potatoes, I always make sure to inspect and clean them. Here are the steps I follow:
- Inspect: I carefully check each potato for any damages, cuts, or signs of disease. Potatoes with these issues won’t store well and can cause others to spoil faster.
- Clean: Using a soft, dry brush, I gently brush off any dirt on the potatoes. It’s important not to wash them, as moisture can lead to rot.
- Cure: To help the potatoes last longer in storage, I let them cure for a day or two in a well-ventilated area with a temperature of around 50-60°F (10-15°C).
Proper Storage Conditions
To store my potatoes, I make sure to follow these guidelines:
- Container: I use a ventilated container, like a paper or mesh bag, to prevent moisture build-up. Avoid using plastic bags or airtight containers.
- Temperature: I store my potatoes in a cool, dark place with a temperature of around 45°F (7°C). Basements, pantries, or closets are usually ideal spots.
- Humidity: To maintain freshness, I ensure the storage area has moderate humidity levels — around 80-90%. This can be achieved by placing a tray of water nearby or using a damp (not wet) cloth inside the container.
- Keep away from other produce: I always store my potatoes separately from other produce, especially onions, as they can emit gases that can cause each other to spoil.
By following these tips, I’m able to keep my homegrown potatoes fresh and delicious for an extended period. Happy storing!
Growing Potatoes: Troubleshooting and Tips
Dealing with Common Problems
I’ve encountered a few problems while growing potatoes in bags, but don’t worry! These solutions can help you tackle them too!
1. Limited space: Since the bags don’t have much room, the potatoes can feel cramped. To combat this, be sure not to overcrowd your spuds by planting only a few in each bag and allowing them plenty of soil.
2. Insufficient drainage: Potatoes can rot from excess water. Make sure your bags have proper drainage holes and don’t over-water.
3. Pest control: Believe it or not, pests can still find their way into bags. Regularly check for bugs and diseases. Use organic pesticide if necessary to protect your precious veggies.
4. Bag quality: Cheap bags can break easily. Invest in a durable bag to ensure the safety of your potatoes as they grow.
Useful Tips for Higher Yields
I’m always excited to share my tips for better potato yields! Here are some that have worked well for me:
- Choose the right variety: Some potato types grow better in bags than others. Look for those labeled as “container-friendly” or “compact.”
- Prepare the soil: Mix in compost or well-rotted manure to provide your potatoes with great nutrition.
- Positioning: Make sure your bags get enough sunlight – at least 6 hours a day. Rotate them occasionally for even exposure.
- Harvesting: Once the foliage turns yellow and starts dying back, it’s time to harvest your potatoes. Gently empty the bag and sort through the soil to find your treasures.
More from my site
 Epic Gardening Memorial Sale 2025: What You Should Know
 Epic Gardening Birdies Garden Bed Review: Durable and Easy-to-Assemble Raised Garden Solution
 Green Bean Plant Stages: Lifecycle from Seed to Harvest
 GrowOya Black Friday Sale: Deals for your garden
 Best Way to Grow Strawberries at Home: The Ultimate Guide
 Plant Food vs Fertilizer: Debunking Myths and Comparing Benefits
